Written by: Matthew Timmins, Founder and Managing Director, Leva Sleep
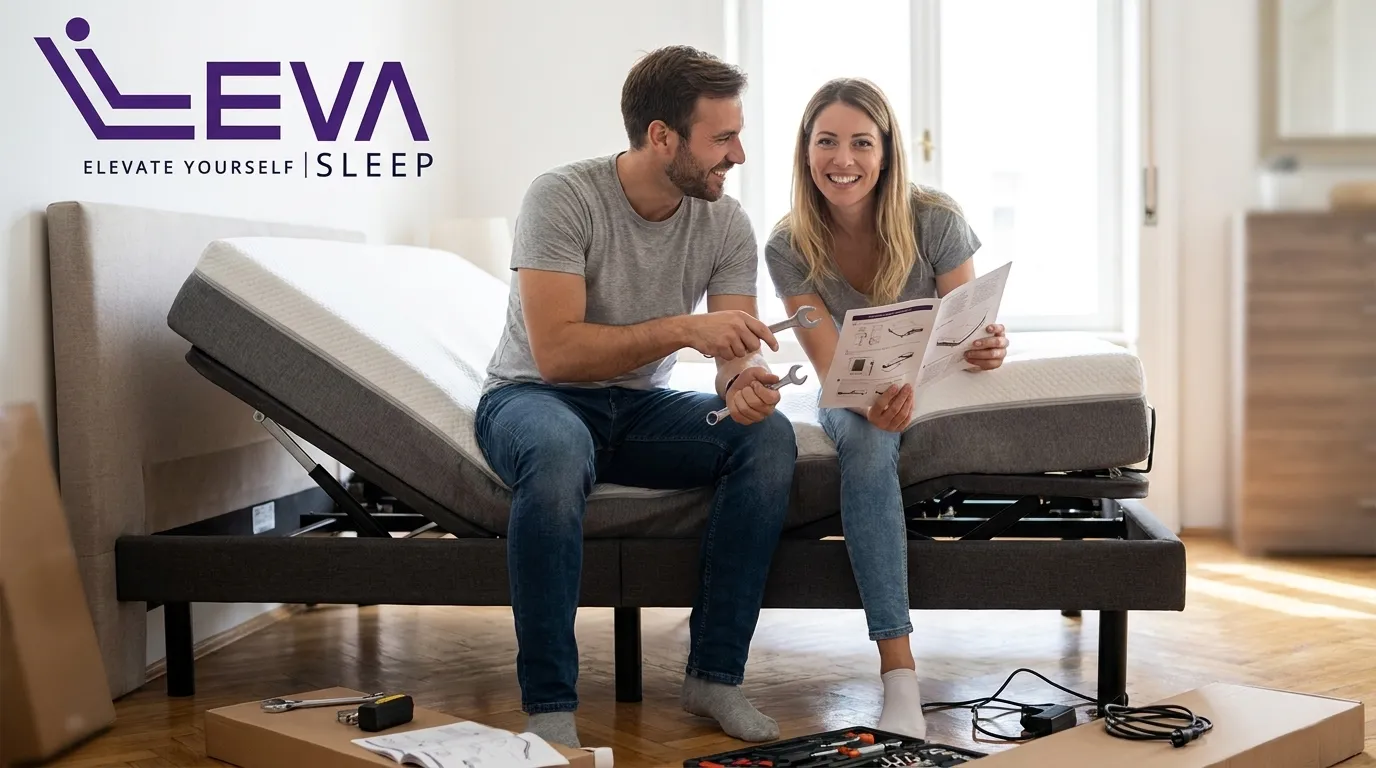
Most smart adjustable bed installations finish in 45 minutes to 2 hours with two people. You will need a Phillips screwdriver, adjustable wrench, tape measure, and a smartphone for app pairing. Clear at least 3 ft of floor space on each side of the bed frame before you start.
Key Takeaways for a Smooth Adjustable Bed Setup
- Smart adjustable bed installation usually takes 45 minutes to 2 hours with two people, basic hand tools, and a smartphone for app pairing.
- Correct setup keeps motors whisper-quiet, preserves independent split-side controls, and supports the mattress through repeated adjustments.
- Key prep steps include verifying a grounded outlet, confirming a level floor, and clearing at least 3 ft of space around the bed frame.
- Following the sequence of room prep, base assembly, sync cable connection, Bluetooth pairing, and final testing reduces issues like pairing failures or motor noise.
- For a seamless experience, explore Leva Sleep’s premium adjustable bases and browse the full collection to transform your sleep quality.
Check Power, Space, and Health Needs Before You Begin
Confirm that a grounded 120V electrical outlet is within reach of each base section without using an extension cord. Smart adjustable systems accounted for 42.7% of the adjustable beds and mattress market in 2026, with residential applications representing 74.6% of sales, which shows that standard household electrical infrastructure has become the baseline for these products. Beyond electrical access, verify that the floor is level and that the room allows at least 3 ft of clearance on each side and at the foot of the bed for safe maneuvering during assembly.
Consider your health needs before you choose elevation presets. Individuals managing sleep apnea, acid reflux, post-surgery recovery, or circulatory conditions should consult a physician before selecting head and foot elevation ranges. A doctor or physiotherapist can recommend specific degree ranges for therapeutic positioning, which you can then program into the app as saved presets.
Choose DIY Setup or Leva White-Glove Delivery
DIY installation suits people who are comfortable with basic tools and simple tech steps. DIY installation typically requires two people, 45–75 minutes, a few hand tools, and comfort with Bluetooth troubleshooting. The main risks involve improper leg torque, sync cable misconnection, and app pairing failure, which you can usually resolve with the manufacturer’s support guide. DIY adds no extra cost beyond the product price.
White-glove delivery, available from Leva Sleep for a service fee, handles the entire setup for you. The service includes in-room placement, full assembly, leg-height adjustment to your preferred bed height, a live product tutorial, and removal of the old bed. Adjustable bed frames are very heavy and large, which makes DIY assembly difficult without help, so white-glove delivery is recommended for those who lack reliable assistance. White-glove delivery is also a key differentiator for premium adjustable bases, especially for seniors or anyone who wants stress-free installation. For couples who prefer to spend their time testing sleep positions instead of managing assembly logistics, Leva’s in-house white-glove service removes every installation variable.
Step 1: Prepare the Room and Verify Components
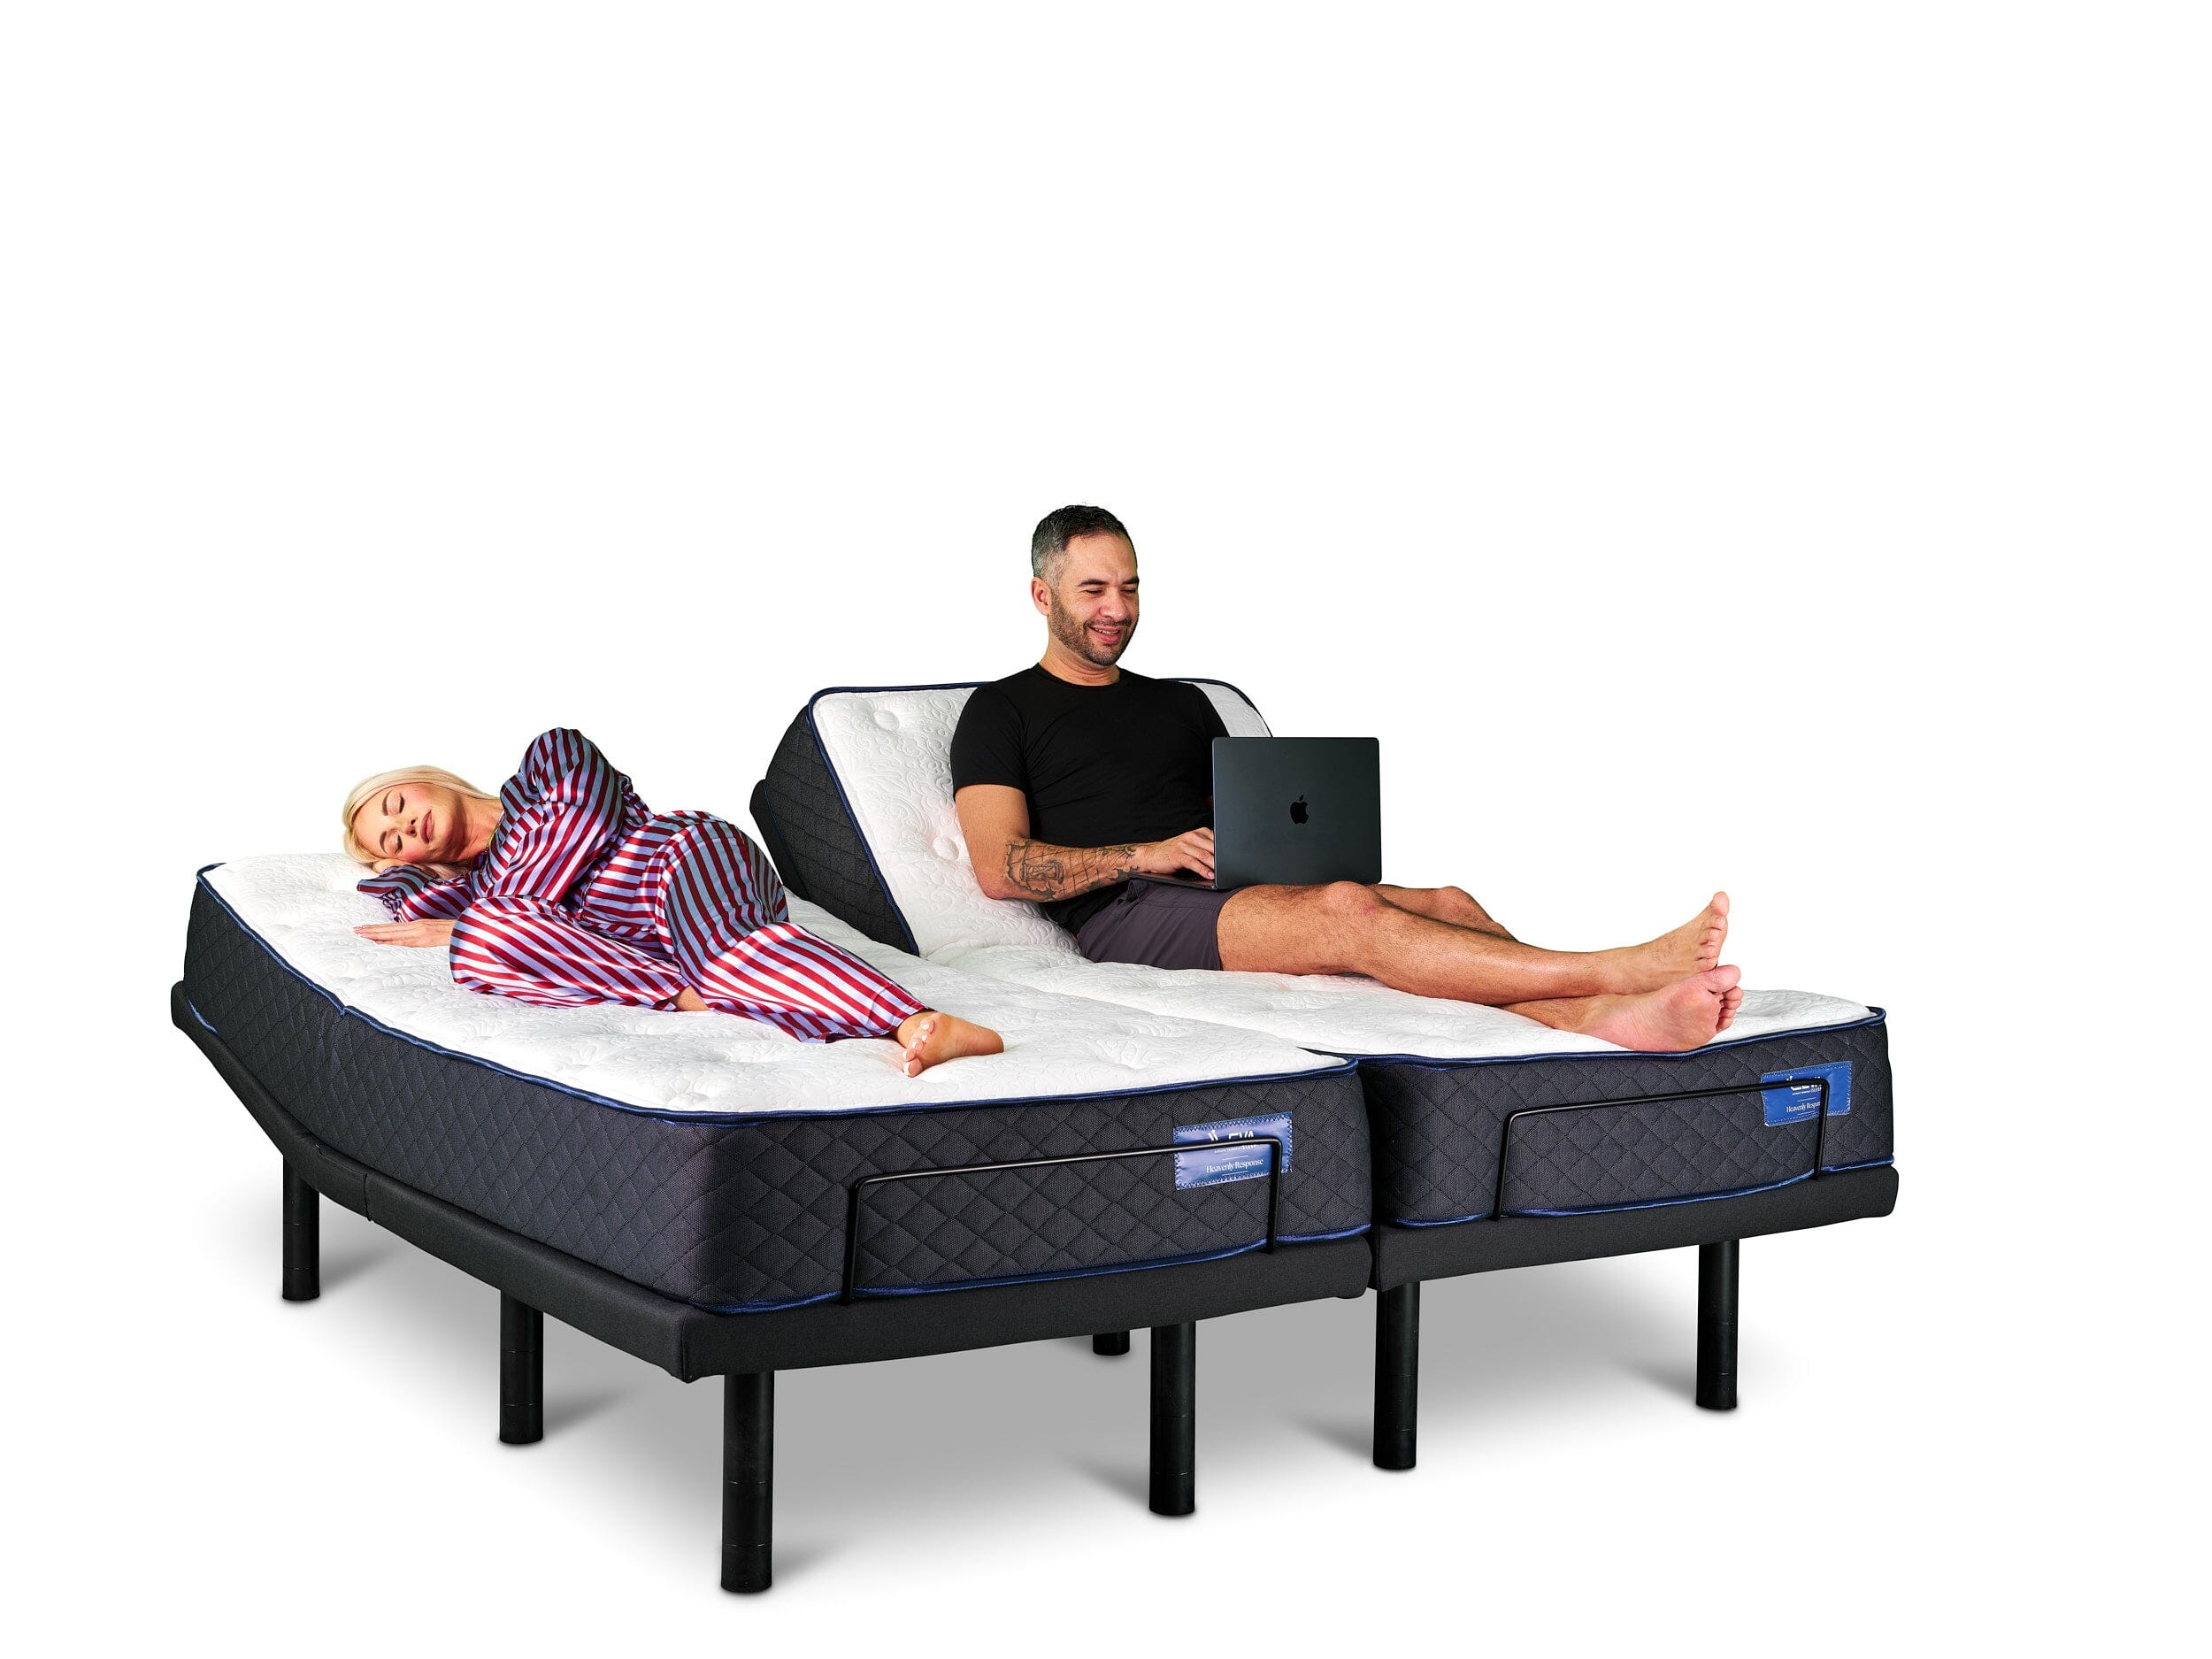
Clear the room so you can move freely around the bed area. Remove all existing bedding, mattress, and bed frame components from the room or push them to one wall. Lay out every part from the shipping boxes against a clear wall and cross-reference each item with the manufacturer’s packing list. For a split king configuration, you should have two Twin XL base sections, two power cords, one sync cable, two remote controls or a single app-paired hub, a retainer bar, and all leg hardware.
Photograph the component layout before assembly begins so you have a visual reference if a part seems missing or misidentified during later steps. If you prefer visual guidance throughout the process, request a video walkthrough of this step from Leva Sleep’s product support team before you begin.
Step 2: Assemble the Base Sections Safely
Split king adjustable bed bases are heavy, which makes DIY self-assembly difficult for a single person and often requires two-person handling. Start with each base section lying flat on the floor. Attach the legs while the section remains flat, and never try to flip a fully assembled base alone. Use the adjustable wrench to tighten leg bolts to the torque specified in the manufacturer’s guide, because under-tightened legs are a primary cause of frame wobble during elevation cycles.
Once the legs are secure, coordinate with your helper before lifting. Two people should lift each section simultaneously from opposite ends, keep backs straight, and bend at the knees. This technique protects both your body and the frame structure.
Step 3: Position the Base Sections and Connect the Sync Cable
Carry each base section to its final position and set it down so the two sections sit flush against each other along the center seam. Use the tape measure to confirm equal distance from each side of the section to the nearest wall, because asymmetric placement can cause sheet misalignment over time. Locate the sync cable port, typically a labeled RJ-style connector on the inner rail of each section, and connect the cable between the two bases.
You should feel a firm click or see the connector seat flush, which confirms a secure connection. A properly connected sync cable allows the two sections to communicate for synchronized massage and anti-snore mode functions while still preserving independent head and foot control.
Step 4: Connect Power and Pair the App
Plug each base section’s power cord into a grounded wall outlet, not a power strip, because power strips can introduce voltage fluctuations that affect motor performance. Once powered, open the Leva Sleep app on your smartphone and follow the in-app Bluetooth pairing sequence. For reliable pairing, keep the smartphone within 3 ft of the base during the initial connection and make sure no other Bluetooth devices are actively pairing nearby.
After completing Bluetooth pairing, reinflate or reset each side to its baseline setting, then lie on your side to confirm the personal position registers correctly. If the app fails to detect the base, power-cycle the base by unplugging it for 30 seconds, then restart the pairing sequence. With both bases now powered and paired to your smartphone, you are ready to complete the physical connections between the two sections.
Step 5: Install Split-King Wiring and Test Independent Controls
Route any remaining inter-section wiring, such as massage motor cables, USB charging harness leads, or temperature pad connectors, through the designated cable management clips along the inner rail. Confirm that no wire crosses the center seam in a way that could be pinched when the sections sit together. Using the app or remote, raise the head of one section to 45 degrees while leaving the other flat. The sections must operate independently without mechanical resistance or cable tension.
Leva Sleep’s adjustable bases use whisper-quiet German motors that are engineered to operate below audible thresholds that would disturb a sleeping partner. To evaluate motor performance, run each section through a full range-of-motion cycle: head fully elevated, then fully flat, then foot elevated, and listen for any grinding, clicking, or irregular resistance. Once you confirm smooth mechanical operation, test any advanced features your base includes. For example, anti-snore mode, available on Leva’s advanced bases, detects snoring through vibration or audio sensing and makes micro-adjustments to the head elevation to open the airway. To test this feature, activate anti-snore mode in the app, manually simulate the trigger condition per the app’s test protocol, and watch for a gradual, silent elevation increment at the head section.
For additional installation guidance and troubleshooting tips, visit Leva Sleep’s support resources.
Step 6: Add Mattress, Deep-Pocket Sheets, and Retainer Bars
Secure the mattress before you focus on comfort. Attach the retainer bar to the foot of each base section before placing the mattress. Adjustable bases typically include a retainer bar at the foot of the bed that keeps the mattress from sliding off when the head section is elevated.
Mattress compatibility is non-negotiable for smooth movement. Memory foam mattresses are the gold standard for adjustable bases because the material compresses and expands without resistance and returns to its original shape. Hybrid mattresses are compatible only when they use individually wrapped coils rather than connected Bonnell or continuous coil systems. Mattresses over 14 inches thick are more difficult to flex smoothly, while 10–12 inch mattresses typically provide the best balance of comfort and flexibility. Leva Sleep’s all-foam and hybrid pocket-coil mattresses are engineered specifically for adjustable base use and include explicit compatibility confirmation.
Once you have a compatible mattress in place, choose bedding that stays put during movement. For bedding, standard cotton sheets can pop off corners when an adjustable base moves, so deep-pocket sheets or sheets with elastic straps are required. Leva’s proprietary fitted sheets feature reinforced deep pockets and full-perimeter elastic designed to remain seated through full range-of-motion cycles.
Step 7: Final Testing and 24–48 Hour Observation
Confirm performance before you settle into nightly use. Run both base sections through five complete head-and-foot elevation cycles. Success criteria include zero sheet movement at any elevation angle, which confirms the retainer bar and deep-pocket sheets are working together, silent motor operation throughout, which indicates proper leg torque and no mechanical obstructions, and fully independent left and right control confirmed by operating each side simultaneously at different angles, which verifies that the sync cable is transmitting data without cross-interference.
Program at least two saved positions per side in the app, such as a flat sleep position and a preferred elevated position, and test recall accuracy. Over the next 24–48 hours, watch whether the retainer bar holds the mattress stationary during repeated adjustments and whether the Bluetooth connection remains stable after the smartphone screen locks. For a complete testing protocol, visit Leva Sleep’s installation support page.
Troubleshooting and Safety Tips After Installation
Bluetooth pairing failures: Start by power-cycling the base, as described in Step 4, to reset its Bluetooth radio. If that does not resolve the issue, delete the device from the phone’s Bluetooth settings and re-pair from within the app rather than the phone’s system menu, which ensures the app’s pairing protocol is used instead of generic system pairing. Before you attempt to pair again, confirm that the smartphone’s operating system and the app are both updated to current versions, because outdated software is a common cause of connection failures.
Sheet slippage: Replace standard sheets with deep-pocket sheets that feature full-perimeter elastic. Confirm that the retainer bar is fully engaged at the foot of each mattress section so the mattress and sheets move together.
Motor noise: A clicking sound during elevation usually indicates a loose leg bolt or an object caught in the frame mechanism. Power down the base, inspect the underside for obstructions, and re-torque all leg hardware before you resume use.
Weight limits: Standard adjustable bed frames support 300–650 pounds, while heavy-duty frames with more powerful motors support up to 850 pounds. To decide which category you need, calculate the combined weight of all users plus the mattress and bedding, and confirm that this total falls within the frame’s stated capacity. Exceeding an adjustable bed’s stated weight limit is unsafe and can damage the frame or motors, which increases the risk of mechanical failure during use.
Two-person lift requirement: If you need to reposition the base after installation, follow the same two-person lift protocol described in Step 2. Two people are recommended for all major component handling on smart adjustable bases due to the need to safely manage heavy components. Never attempt to reposition a fully assembled base section alone.
Frequently Asked Questions About Leva Adjustable Bases
Is a Split Queen adjustable base available, and how does it differ from a Split King?
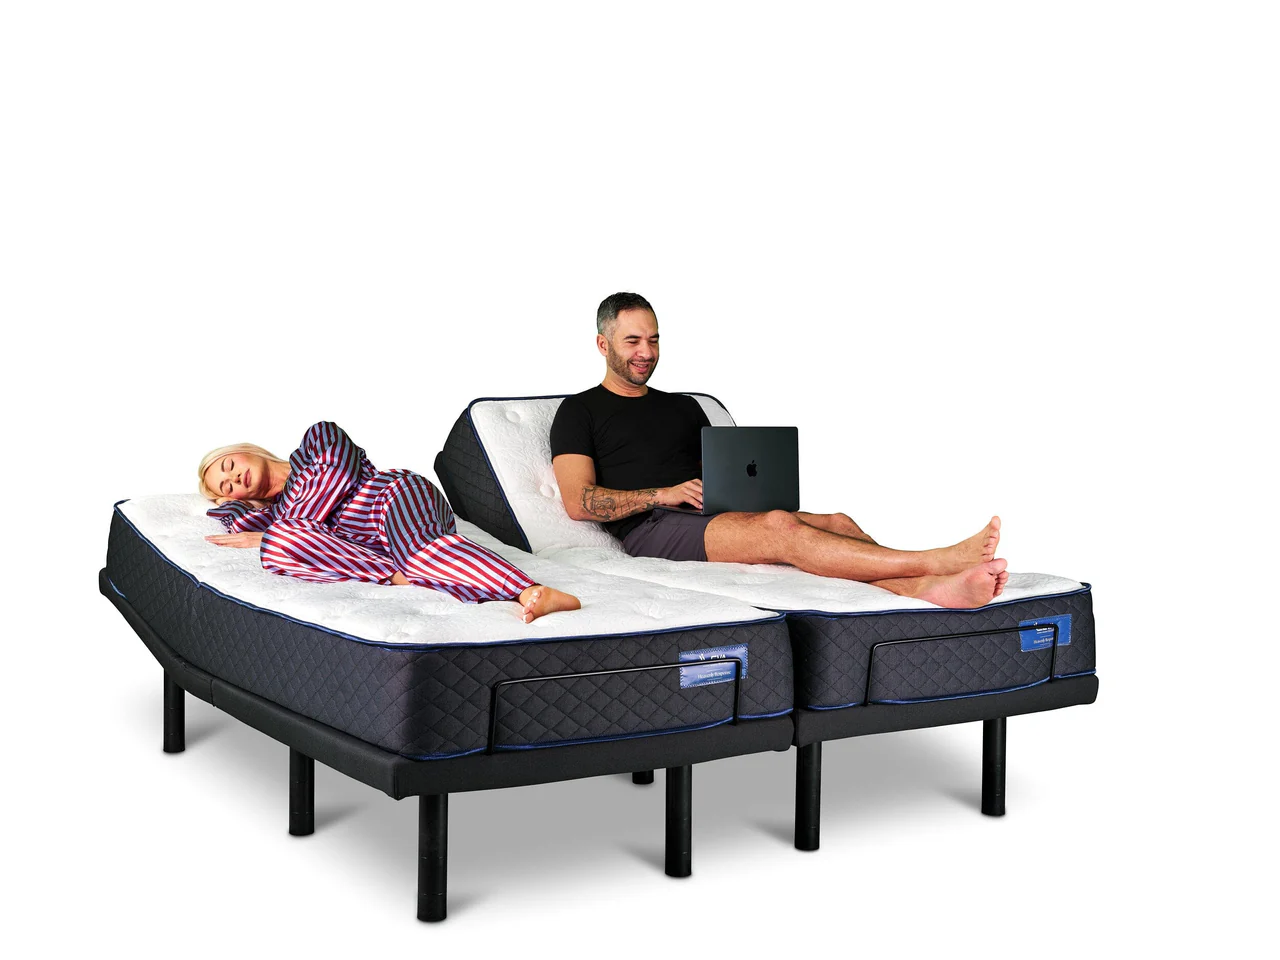
A Split Queen adjustable base divides a standard queen mattress footprint into two independently controlled Twin sections, each approximately 30 inches wide. This configuration delivers the same per-partner customization as a Split King, including independent head and foot elevation, separate massage zones, and individual app profiles, while occupying less floor space. Leva Sleep is one of the few providers that builds Split Queen bases to customer specifications, which makes it a practical option for couples in rooms where a king footprint is not feasible.
Can the base be controlled by both a remote and a smartphone app simultaneously?
Most smart adjustable bases, including Leva Sleep’s models, support both a physical remote and app-based control operating in parallel. The remote provides immediate tactile access to preset positions, massage intensity, and elevation without requiring a phone. The app extends functionality to custom position programming, sleep tracking integration, anti-snore mode activation, and firmware updates. Both control methods communicate with the base through the same Bluetooth connection, so commands from either source execute in real time. Confirm with your specific model’s documentation that dual control is supported before you rely on simultaneous use.
What medical positions can a smart adjustable base support, and when should a physician be consulted?
Smart adjustable bases can elevate the head section to reduce symptoms associated with acid reflux, mild sleep apnea, and post-nasal drip, and can elevate the foot section to improve lower-limb circulation or reduce pressure on the lumbar spine. The zero-gravity preset, which elevates both head and feet to distribute body weight more evenly, is commonly recommended for joint pain and post-surgery recovery. A physician or physiotherapist should be consulted before you use any therapeutic elevation preset if you are managing a diagnosed condition, recovering from surgery, or taking medications that affect circulation or blood pressure. The doctor can specify the degree range appropriate for your condition, which you can then save as a named preset in the Leva Sleep app.
What mattress types are compatible with Leva Sleep adjustable bases?
Leva Sleep adjustable bases are compatible with all-foam, latex, and hybrid mattresses that use individually wrapped pocket coils. Traditional innerspring mattresses with interconnected coil systems are not compatible, because they resist bending, can produce noise under repeated flexion, and risk permanent structural damage. For thickness guidance, refer to the mattress compatibility details in Step 6, because Leva Sleep mattresses fall within the optimal range and are explicitly warranted for adjustable base use.
Conclusion: Confidently Complete Your Adjustable Bed Setup
Proper installation of a smart adjustable bed system follows a clear sequence. You start with room preparation and component verification, move to safe two-person base assembly, then handle section positioning and sync cable connection, power and app pairing, split-wiring and independent control testing, mattress and bedding integration with retainer bars and deep-pocket sheets, and finally a 24–48 hour observation period against defined success metrics. Each step builds on the last, and skipping any stage, especially weight-limit verification or Bluetooth pairing confirmation, introduces risks that affect both safety and long-term product performance. Couples who prefer to bypass the assembly process entirely can choose Leva Sleep’s in-house white-glove delivery service, which manages every element from placement to tutorial.