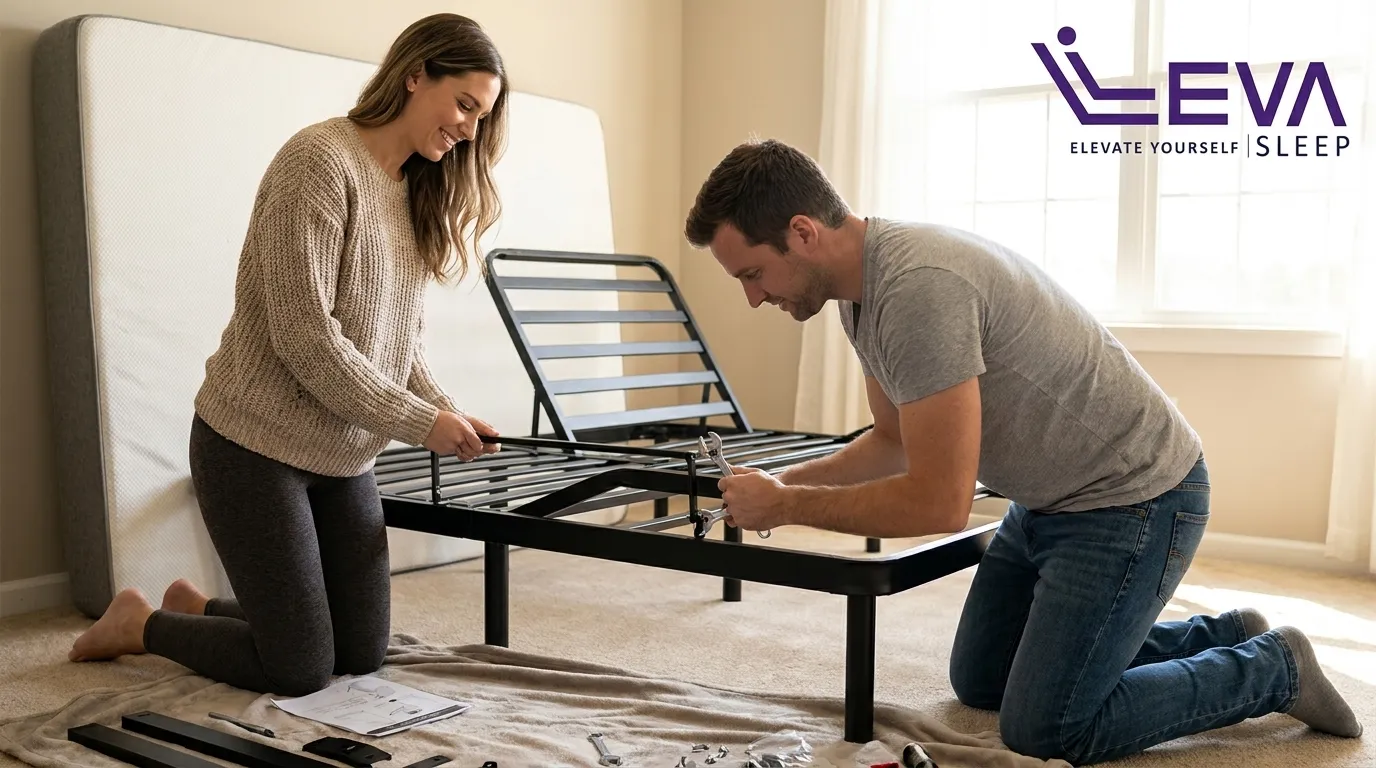
Prepare the room before the base enters the bedroom. This keeps the process smooth and protects your floors and equipment.
Start by removing all existing bedding, the mattress, and any bed frame components from the installation zone. This clears the footprint for the new base. Next, create at least a 3-foot perimeter around the bed area so two people can lift and maneuver safely without obstacles.
Once the space is open, protect your flooring. Lay moving blankets or cardboard sheets over hardwood, tile, laminate, or polished concrete. Heavy-duty rubber pads or non-slip mats under each leg increase traction and help prevent scratches and dents.
After the floor is protected, confirm a grounded electrical outlet is within reach of the power cord without crossing a walkway. Have a surge protector rated for the base’s electrical load ready nearby, but leave it unplugged for now. Finally, gather an adjustable wrench or socket set, a carpenter’s level, and the manufacturer’s printed manual so everything is on hand before you open the box.
Success indicator: The floor is protected, the outlet is grounded, and two adults are present before the box is opened.
Safety Warning: Differences in leg height greater than 1/4 inch require shims or frame repair before use, and grip pads alone cannot compensate for a structurally uneven base. Use a carpenter’s level across the deck before placing the mattress.
Two-Person Flip Technique for Heavy Bases
With the room prepared and your helper ready, you can safely unbox and position the base. A queen adjustable base typically weighs 120 to 140 pounds in the box, so solo handling is unsafe for Queen or King sizes. Always follow these steps with a second person present.
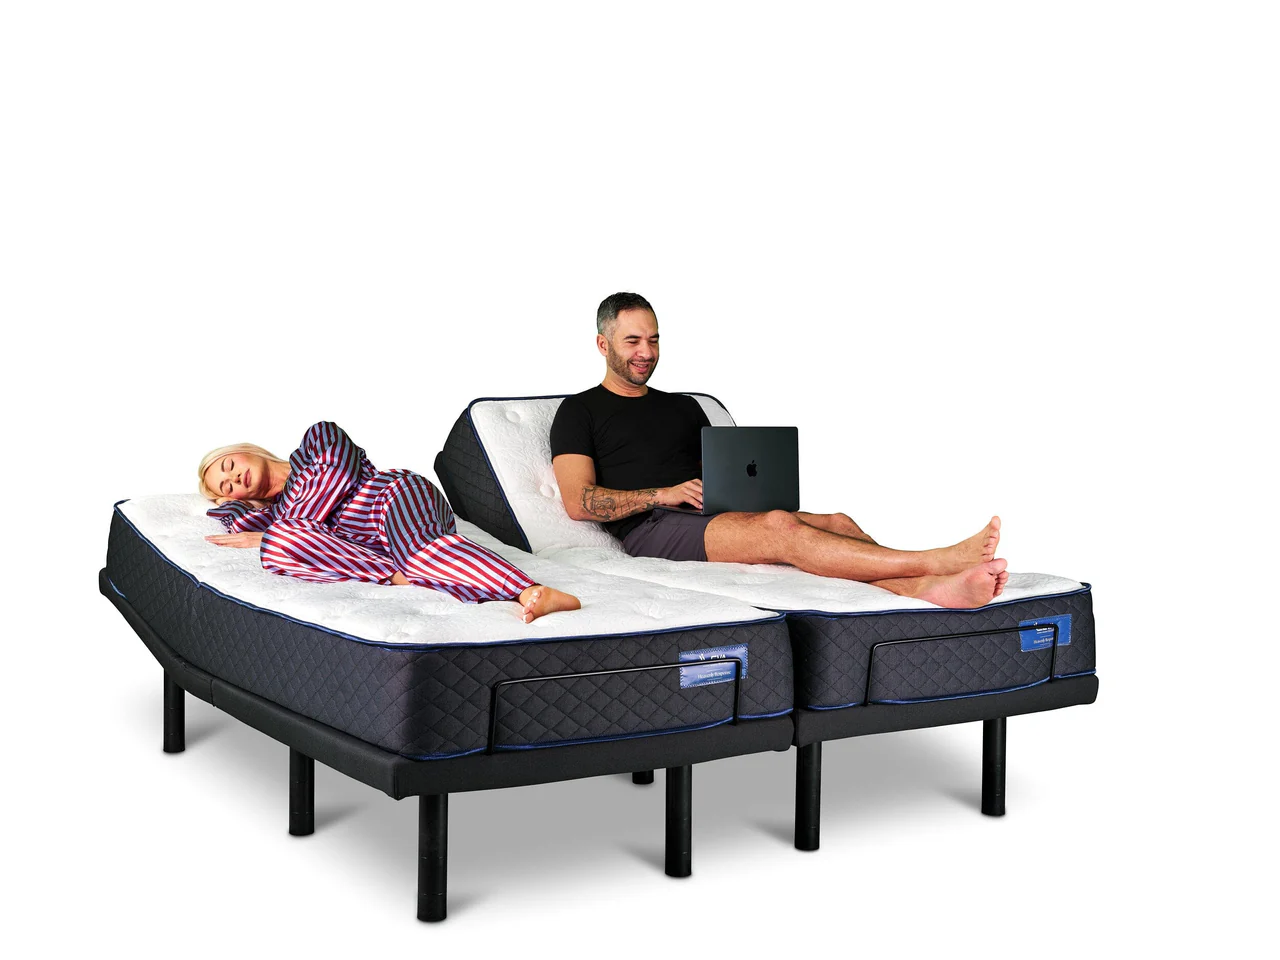
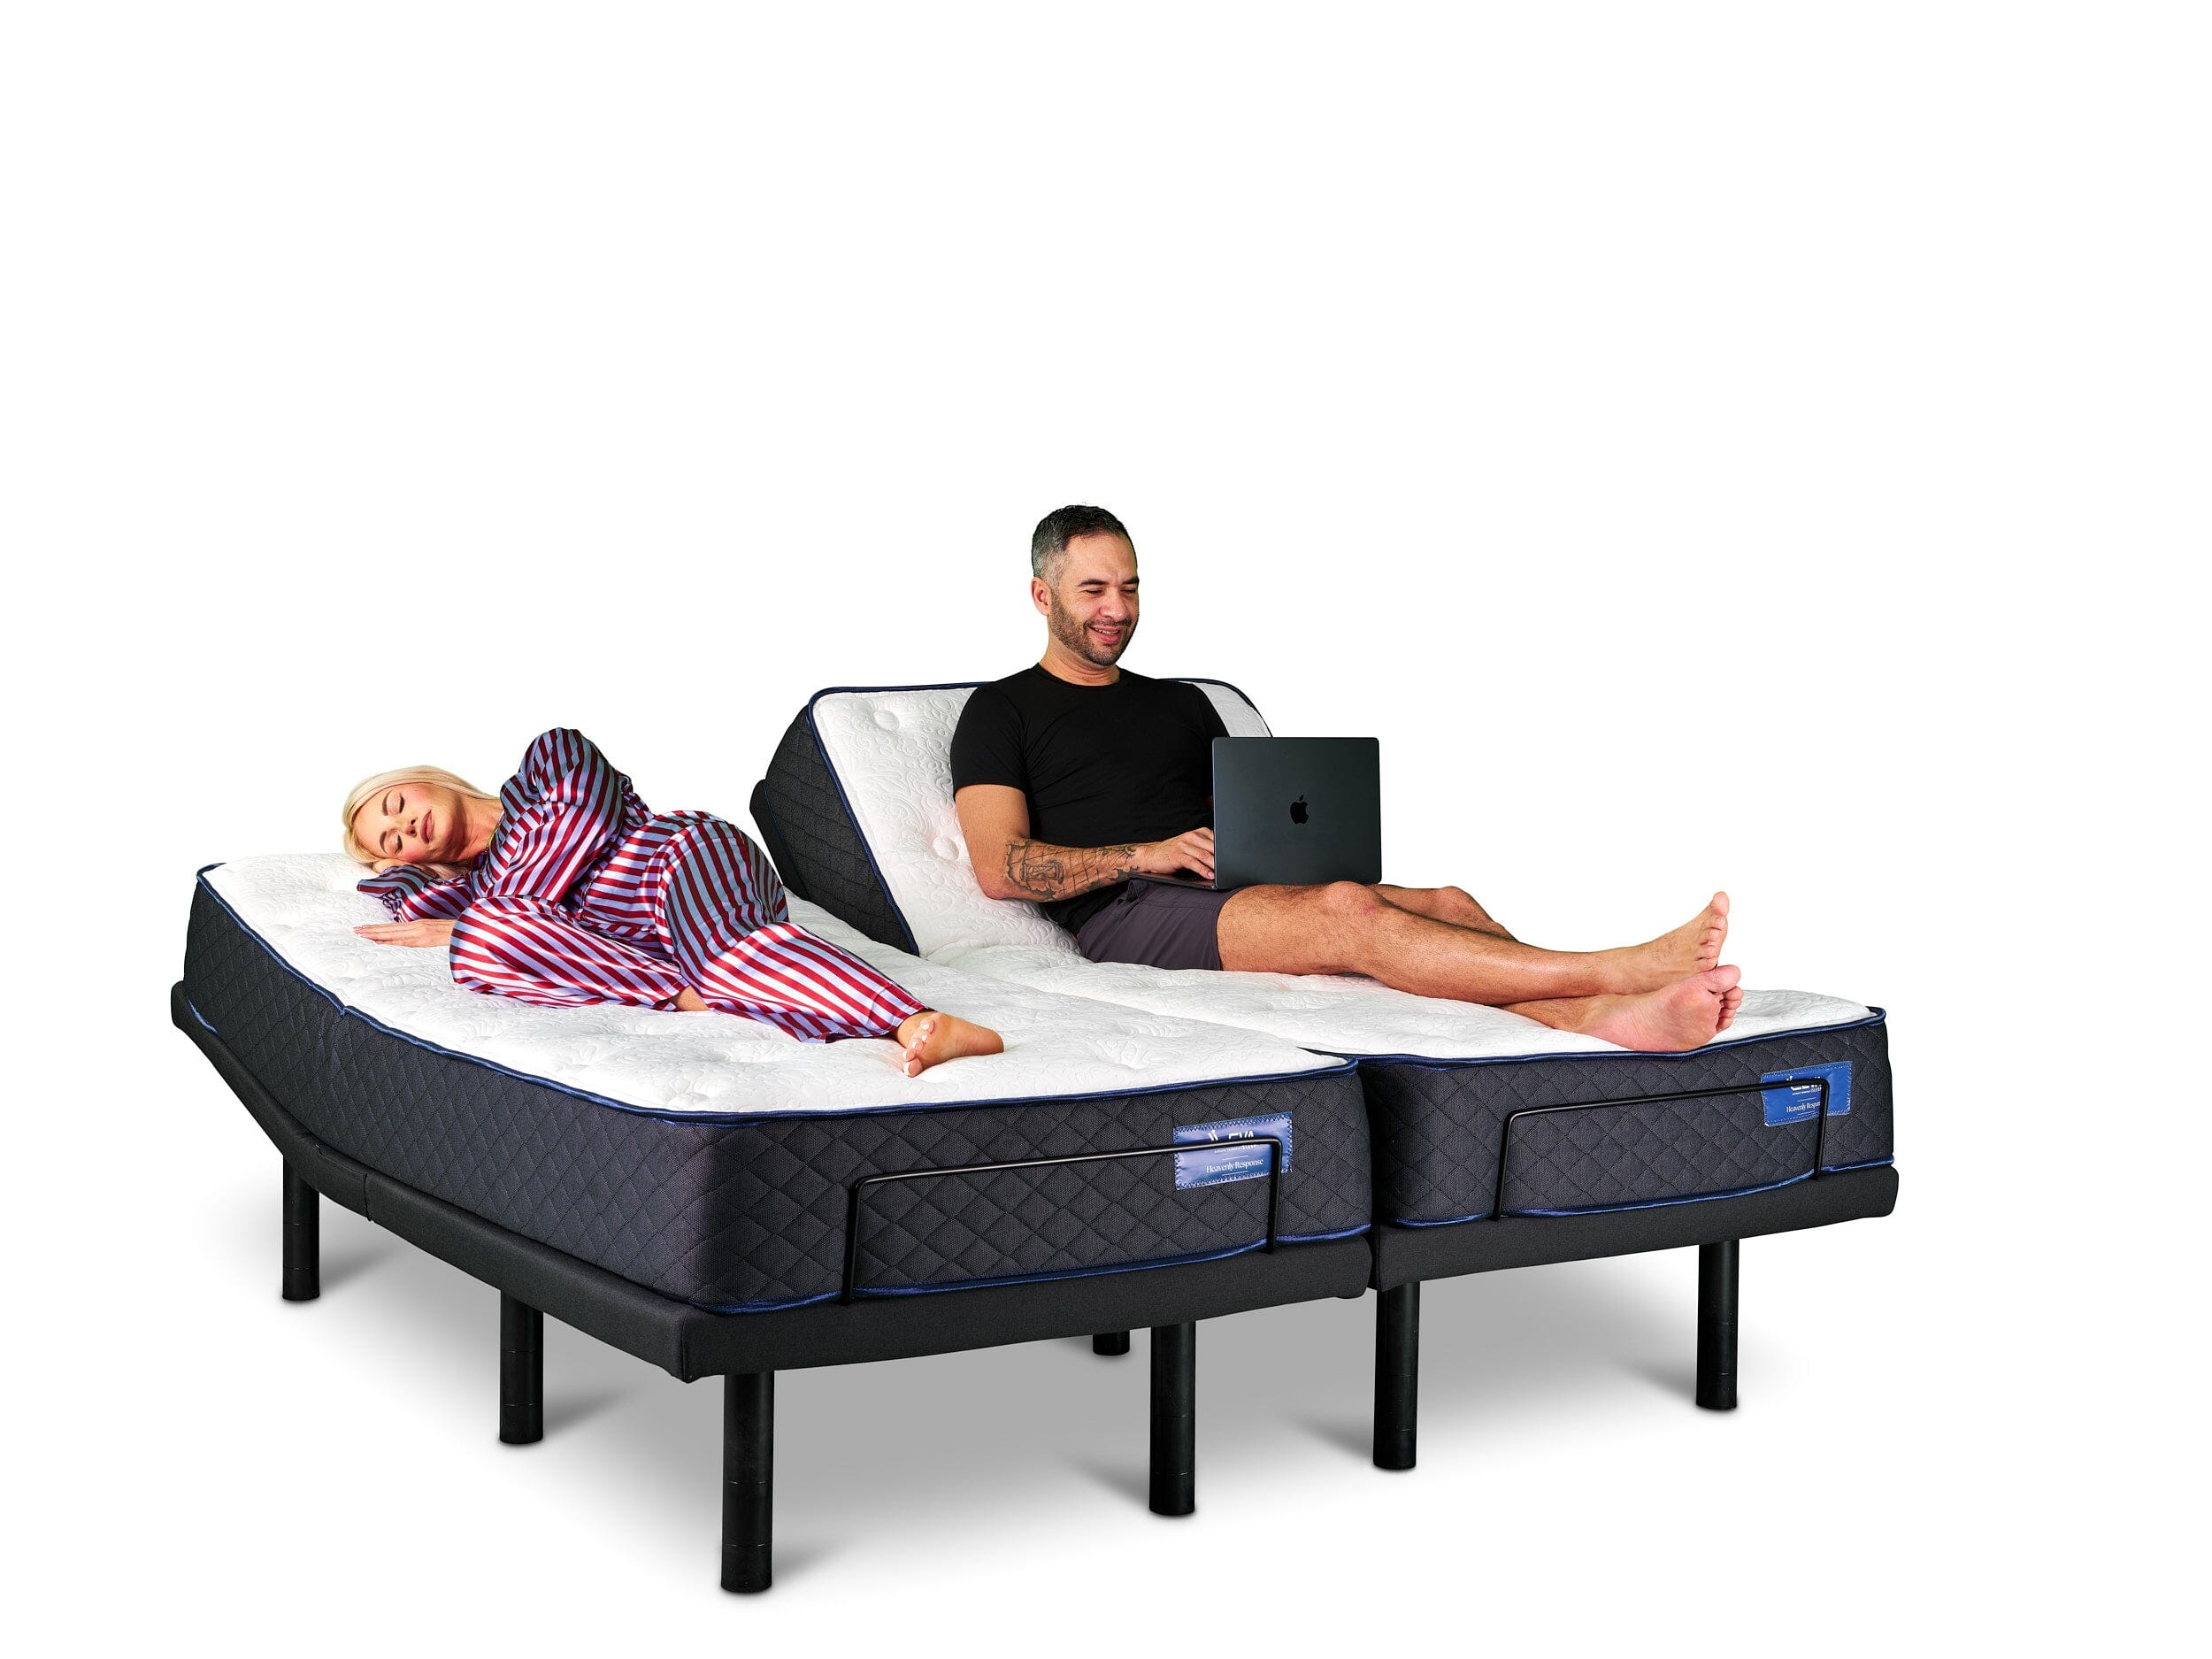
Heavenly Response Split Queen Adjustable Bed
Open the box on the floor and slide the folded base out horizontally. Keep the box flat and avoid tipping it upright.
Each person grips a short end of the base with both hands, knees bent, back straight, and feet shoulder-width apart.
Lift together on a shared count and carry the base to the installation zone, keeping it close to your bodies.
Lower the base flat onto the protected floor surface in a controlled motion.
Unfold the base according to the manufacturer’s sequence. Most models hinge at the center and unfold outward, so follow the diagram closely.
Position the unfolded base where it will sit long term. Thread each leg into its socket by hand until it seats fully before using a wrench.
Tighten all legs to the manufacturer’s specified torque using your wrench or socket. Stop once snug and avoid over-tightening.
Common Mistakes:
One person attempting to flip or carry a Queen or King base alone.
Installing legs at mismatched heights, which creates persistent wobble on smooth floors.
Skipping the carpenter’s level check after leg installation.
Pro Tips:
For split-king setups, treat each half as its own base during the flip phase. After both halves are in place, match them and confirm dual-side app or remote operation.
Premium bases with lumbar-control motors or pillow-tilt actuators have extra wired components on the underside. Identify these connectors before setting the base down and avoid resting weight directly on them.
Clean cord routing prevents pinched cables, motor failure, and electrical hazards. Cords must stay clear of moving parts and should be checked regularly for pinching, fraying, or damage.
With the base flat and unplugged, trace every cable from its motor or control box to its end connection.
Route all cables along the outer steel frame rails and keep them away from hinge zones at the head and foot sections.
Use the cable clips or zip ties supplied by the manufacturer to secure cables to fixed frame members, never to articulating arms.
For split-king bases, route the sync cable through the designated circular opening before laying the base flat. Confirm whether the cable should be connected or stored based on your configuration.
Manually move the base through its full range of motion by hand before applying power. Confirm that no cable pulls tight or touches a hinge.
Group USB, LED, and accessory cables along the same path as the main power cord. Many mid-tier and premium bases include built-in cable management and device charging on both sides, so careful routing becomes a critical step.
Pro Tips:
Label each cable with a small tag before routing. Clear labels make troubleshooting much easier if a motor stops responding later.
Keep both the power-down box and power converter resting on the floor under the base, not on any articulating section.
Test every function before your first night on the base. A full-range test confirms safe motion, correct wiring, and working smart features.
Power on the base and confirm the indicator light behaves as described in the manual. On Sleep Number bases, the power box indicator glows green when motor power and electrical connection are correct.
Use the remote or app to raise the head section to maximum elevation, then return it to flat. Watch for mattress shifting and confirm no cable pulls tight.
Raise and lower the foot section through its full arc and listen for unusual noises.
Activate lumbar support or pillow-tilt motors individually if your base includes these features.
For split-king configurations, test each side separately, then operate both sides together.
Confirm app pairing if the base includes Bluetooth or Wi-Fi controls. Smart options such as voice control, snore detection, and automatic head elevation require device pairing and software setup, not just mechanical assembly.
Respect the duty-cycle limit. Lift motors are not built for continuous operation, so leave short pauses between test cycles.
Install batteries in the backup remote if one is included and verify it runs all functions without the app.
When DIY Installation Should Give Way to Pros
Professional setup for adjustable beds usually takes 30 to 60 minutes, depending on model complexity. Split-king configurations take longer because two bases must be assembled, aligned, and synchronized. The table below compares DIY and professional approaches across four key factors.
Factor
DIY Installation
Professional White-Glove Setup
Notes
People required
Minimum 2
Trained 2-person team
Two people are recommended for Queen or King sizes due to base weight
Time to complete
30–60 minutes (first-time)
30–60 minutes
Professional setup reduces wiring, leveling, and positioning errors
Common error risk
Reversed motor connections, loose harness, uneven legs, retainer bar omitted
Low, with errors usually caught before handoff
Common DIY issues include reversed motor connections and legs installed at incorrect heights
Warranty exposure
Risk of voiding warranty if installation errors cause damage
Setup performed per manufacturer spec
Check your specific manufacturer’s warranty terms
If you decide professional installation is the safer route, schedule Leva’s white-glove installation service. Leva’s trained team delivers to the bedroom, assembles every component, adjusts leg heights, provides a full product tutorial, and removes the old bed.
Frame handles floor contact; verify frame feet are protected
Rubber gripper pads work best on hardwood and tile
Targeted Troubleshooting Checklist
Use this checklist when the base does not perform as expected after installation. Work through each item in order.
Uneven legs or wobble: If the level check from the Room Preparation phase revealed unevenness, revisit leg heights and add shims where needed. Tighten all screws and bolts, then add floor protection pads once the frame sits level.
Pinched or binding cords: Power down and unplug the base. Manually move the frame through its full arc and visually trace every cable. Re-route any cable that touches a hinge or articulating arm, then secure it with manufacturer-supplied clips.
App or remote connectivity issues: Unplug the power supply for at least an hour to reset electronic components after failed pairing. For Bluetooth pairing, keep the mobile device within about 30 feet and limit other paired devices that might compete for the connection.
Motor runs in wrong direction: Reversed motor connections often cause the head section to move down when the remote says up. Power down, unplug, and re-seat the motor harness connectors according to the wiring diagram in the manual.
Motors will not sync on split-king: Confirm the sync cable is routed and connected correctly for your layout. For Eastern King Sleep Number bases, connect the sync cable between the two control boxes after routing through the circular openings. For a true Split King, store the sync cable instead of connecting it.
Frequently Asked Questions
Can one person install an adjustable bed base safely?
One adult may handle Twin or Twin XL installation, but larger sizes require help. As noted earlier, queen bases are heavy enough to demand two people for safe lifting and flipping. King bases are even heavier at 160 to 200 pounds, depending on the model, and always need two adults for every lift, flip, and placement step. Solo installation on larger bases increases the risk of back injury, dropped equipment, and floor damage. A second person also improves accuracy when aligning legs, routing cords, and positioning the mattress against the retainer bar.
Does the adjustable base go inside a bed frame or does it stand alone?
Both freestanding and inside-frame setups work when you plan correctly. A freestanding base uses its own adjustable legs and rests directly on the floor. An inside-frame installation requires measuring the interior width, length, and lip height of the existing frame before purchase to confirm the base fits and that the head and foot sections can move freely without hitting headboard or footboard panels. Antique or non-standard frames with high interior lips often do not work. Zero-clearance bases are built for platform beds or slatted frames and can sit flat without legs.
What should I do if the motors will not sync after installation?
Start by unplugging the base from the surge protector and waiting at least 60 minutes before reconnecting. This pause resets the electronic control board on most models. After reconnecting, re-pair the remote or app according to the manufacturer’s pairing sequence before activating any motor. For split-king configurations, confirm that the sync cable is in the correct state for your layout: connected between control boxes for an Eastern King, or stored unused for a true Split King. If the problem continues after a full reset and re-pairing, contact the manufacturer’s support line before changing any internal wiring, since unauthorized repairs can void the warranty.
What type of mattress is compatible with an adjustable base?
Memory foam, split-layer latex, and individually pocketed-coil hybrid mattresses usually flex through the 0 to 60 degree arc that adjustable bases require. Traditional Bonnell or continuous coil mattresses resist bending and can deform comfort layers or strain the base motor. Mattresses taller than about 14 inches can create bending-radius and weight-rating problems. Always confirm that the mattress is explicitly certified as adjustable-base compatible by its manufacturer before installation.
Is a surge protector actually necessary, or is it optional?
Yes, a surge protector is necessary. As detailed in the Electronics Connection section above, surge protection is a manufacturer requirement, not an optional accessory. Skipping it can void your warranty and damage sensitive motor and control components. Choose a surge protector rated for the base’s input voltage, since most residential adjustable bases operate at 110/120V AC, and confirm the outlet itself is properly grounded before plugging in.
If you decide professional installation is the safer route, schedule Leva’s white-glove installation service. Leva’s in-house team handles delivery to the bedroom, full assembly, leg-height adjustment, a complete product tutorial, and old-bed removal, which removes every risk covered in this guide.